Alright, let's talk deck railings. I get a lot of questions about these, and for good reason. They're not just about looks; they're about safety, code compliance, and making your outdoor space actually usable. As someone who's been building decks and porches around Chico for years, I've seen it all. Here are the straight answers to the questions I hear most often from homeowners right here in our town.
What are the local building code requirements for deck railings in Chico?
This is probably the most important question, and it's where a lot of folks can get tripped up. In Chico, like most places, the main thing to remember is the 36-inch rule. If your deck surface is more than 30 inches above the ground, you need a railing that's at least 36 inches high. That's from the deck surface to the top of the rail. For commercial properties, or if you're building a multi-family unit, that height jumps to 42 inches, but for most residential decks, it's 36. Don't try to skimp on this; building inspectors won't let it slide, and honestly, it's there to keep people safe. You also need to pay attention to infill – that's the space between your posts and under the top rail. The rule of thumb is that a 4-inch sphere shouldn't be able to pass through any opening. This means your balusters (vertical pickets) need to be spaced no more than 4 inches apart. If you're going with horizontal cables, it gets a bit trickier, but the same 4-inch rule applies. It's all about preventing kids from falling through or getting stuck. Always check with the City of Chico Building Division for the most current codes before you start any project. Things can change, and you don't want to build something only to have to tear it down.
What's the best material for deck railings in our Chico climate?
"Best" is always a tough word because it depends on your budget, your style, and how much maintenance you're willing to do. But for Chico, with our hot, dry summers and occasional wet winters, you've got a few solid options.
- Pressure-Treated Wood: It's affordable and classic. The downside is it needs regular maintenance – staining or painting every couple of years to protect it from the sun and moisture. Left untreated, it'll warp, crack, and splinter pretty fast here.
- Composite/PVC: This is a popular choice, especially if you're already doing a composite deck. It's low maintenance, doesn't splinter, and holds up great to our sun. You won't have to paint or stain it, ever. It costs more upfront, but you save on upkeep. The color can fade a bit over time, but it's usually minimal.
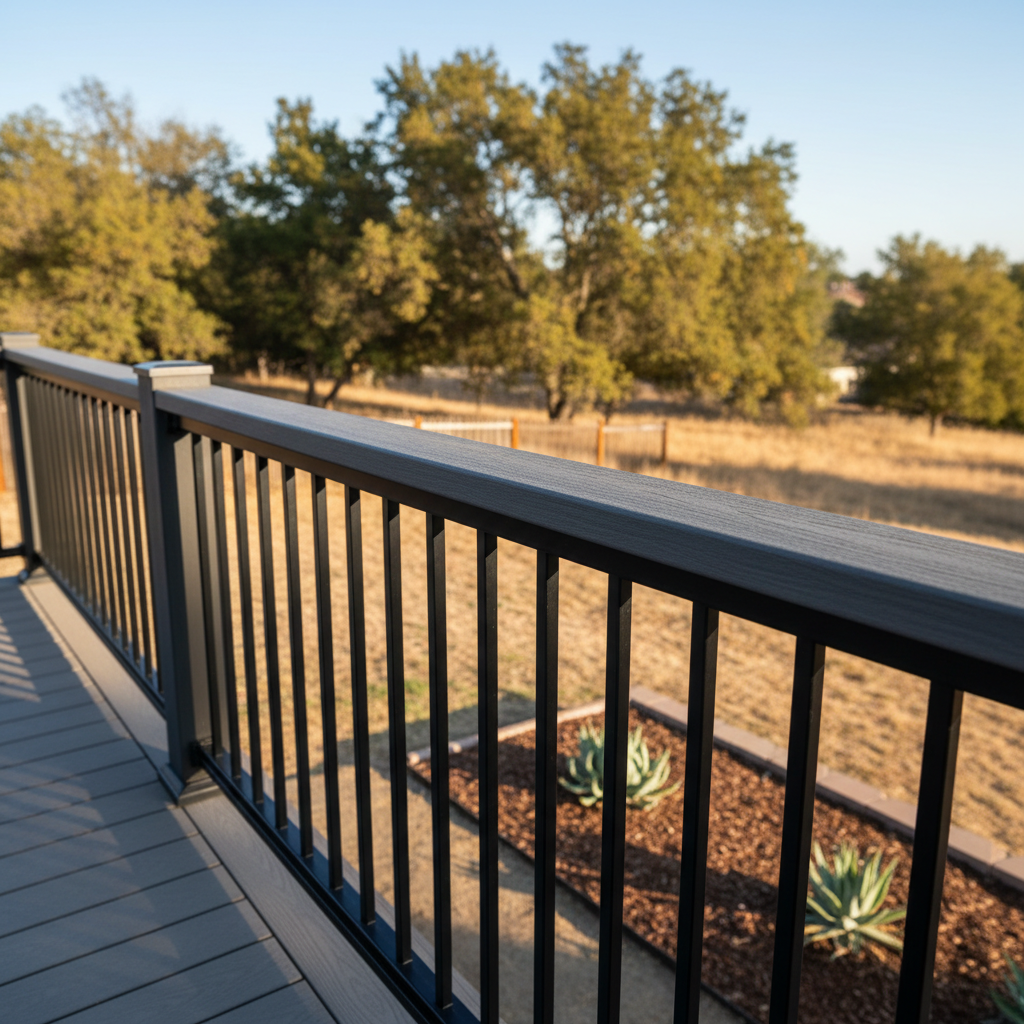
- Aluminum: Super durable, lightweight, and virtually maintenance-free. It won't rust, rot, or warp. It's a bit more modern looking, which might not fit every home, but for a clean, contemporary look, it's fantastic. It's usually powder-coated, so the finish holds up well.
- Steel (Wrought Iron/Cable): Wrought iron gives a very traditional, elegant look, but it needs regular painting to prevent rust, especially if it's exposed to sprinklers or winter rain. Cable rail is a modern option that offers great views, but installation can be more complex and costly. Both are strong, though.
For most folks, composite or aluminum offers the best balance of durability and low maintenance for our local conditions, especially if you're building out in the foothills where the sun really bakes.
Can I mix and match different railing materials?
Absolutely, and it can look really sharp! Mixing materials is a great way to add visual interest and customize your deck. For example, you might use sturdy wood posts and top rails for a traditional feel, but then fill in the gaps with sleek aluminum balusters or even horizontal steel cables. I've done plenty of decks where we use composite posts and top rails, but then put in black aluminum pickets – that contrast really pops. Just make sure the materials you're combining are compatible in terms of how they attach and how they handle our weather. You don't want one material expanding and contracting differently than another, causing issues down the line. And always double-check that your mixed-material design still meets those 4-inch sphere and height code requirements.
How do I choose between vertical balusters and horizontal cable railings?
This comes down to aesthetics and view. Vertical balusters are the classic, traditional look. They're generally simpler and less expensive to install. They provide a clear visual barrier, and you've got tons of options for material and style – wood, aluminum, composite, even glass. They're a solid, reliable choice that works with almost any home style. Horizontal cable railings, on the other hand, are all about preserving your view. If you've got a great backyard, or you're up on a ridge overlooking the valley, cable rail practically disappears. It gives a very modern, open feel. The trade-off is that it's usually more expensive to install because it requires specialized hardware and tensioning. You also need really sturdy posts for cable rail because of the tension it puts on them. And remember that 4-inch sphere rule? With horizontal cables, you have to make sure the spacing is tight enough that a child can't climb them like a ladder. That's a common concern and something inspectors look at closely.
What's the deal with glass panel railings? Are they practical for Chico?
Glass railings offer the ultimate unobstructed view and a very high-end, contemporary look. They can be absolutely stunning. The practicality for Chico? Well, they're durable – tempered glass is tough. They're also pretty low maintenance in terms of not needing to be painted or stained. However, they do get dirty. Dust, pollen, rain spots, fingerprints – you'll be cleaning them more often than other types of railings if you want them to look pristine. And with our dry, dusty summers, that's something to consider. They're also significantly more expensive upfront than other options. If you're willing to invest and don't mind the cleaning, they're a beautiful choice. Just be aware of the commitment. We've put them on some higher-end homes, especially those with great views of Bidwell Park or the orchards, and they look incredible.
Do I need a permit for railing replacement or repair?
This is a common question, and the answer isn't always a simple yes or no. If you're just replacing a few broken balusters or a section of railing with the same material and design, and you're not changing the structural integrity or height, you might not need a permit. However, if you're changing the railing height, altering the structural posts, switching to a significantly different material (like going from wood to heavy steel), or if your deck is part of a larger renovation project, you'll almost certainly need a permit from the City of Chico. My advice? When in doubt, call the building department. It's always better to ask and be sure than to get hit with a stop-work order or have to redo work later. For anything we do at Chico Deck & Porch that involves structural changes or significant material swaps, we always make sure the proper permits are pulled. It protects you and it protects us.
Can I install deck railings myself, or should I hire a professional?
Look, I'm a professional, so you know what I'm going to say, right? But seriously, it depends on your skill level and the complexity of the job. If you're handy, have all the right tools, and you're just replacing a straightforward section of wood railing, you might be able to tackle it. There are plenty of DIY guides out there. However, if you're dealing with a new deck, a complex design, or specialty materials like cable or glass, or if you're unsure about code compliance, I really recommend hiring a pro. Railings are a safety feature. They need to be installed correctly and securely. A professional will know the codes inside and out, have the specialized tools, and can ensure everything is up to snuff. Plus, we've got the experience to make it look good and last. It's an investment in your home's safety and value, so don't cut corners where it matters most.